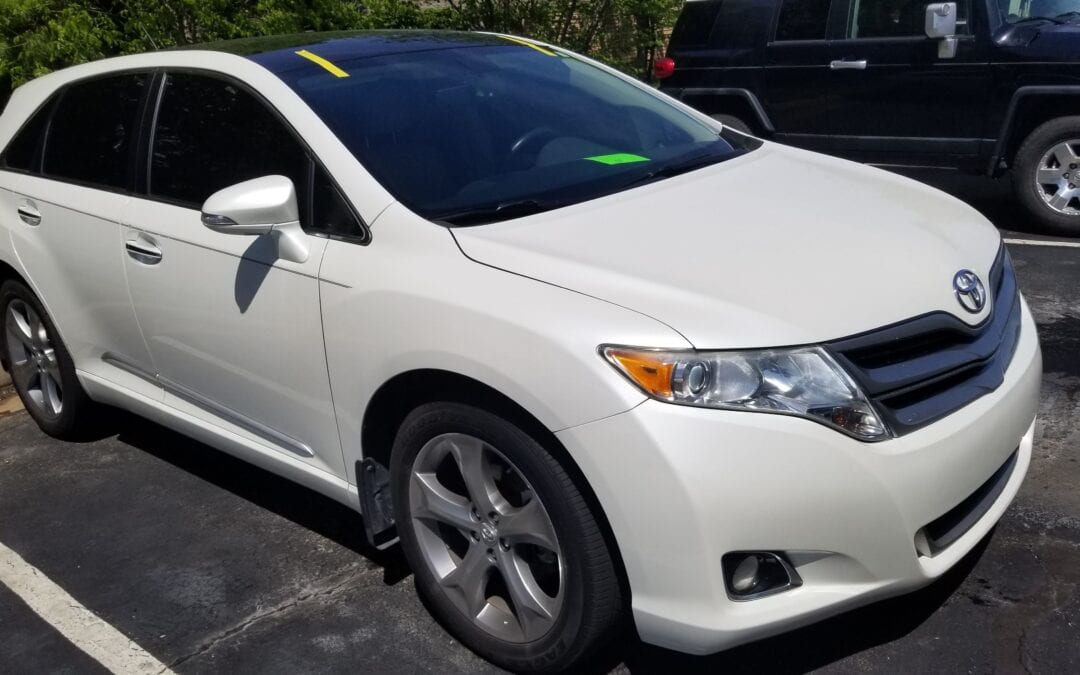
ADAS Recalibration Broken Arrow
The main reasons for ADAS recalibration Broken Arrow boil down to ensuring the accuracy of the cameras and sensors that power these advanced driver-assistance systems. Here’s a breakdown of the key reasons:
- Maintaining System Performance: ADAS systems rely on precise information from cameras and sensors to function properly. If these components are misaligned even slightly, their ability to detect objects, judge distances, and provide accurate warnings can be compromised. Recalibration ensures they are correctly pointed for optimal performance.
- Windshield Replacement: Windshields on many modern vehicles house some of the cameras and sensors crucial for ADAS systems. Replacing a windshield can alter the position or alignment of these components, making recalibration essential to restore their accuracy.
- Collision Repair: Even minor collisions can potentially nudge or misalign ADAS cameras and sensors mounted on the vehicle’s body. Recalibration after collision repair helps guarantee these systems function as intended.
- Component Replacement: Thus, if any ADAS cameras, sensors, or radar units themselves are replaced, recalibration is necessary. The new components need to be properly aligned and integrated with the existing system for accurate operation.
Overall, ADAS recalibration Broken Arrow is crucial for driver and passenger safety. By ensuring the cameras and sensors are functioning correctly, these systems can effectively provide warnings, intervene in critical situations, and ultimately help prevent accidents.
Furthermore, ADAS recalibration Broken Arrow involves a precise process to ensure the cameras and sensors of your vehicle’s advanced driver-assistance systems are properly aligned. Here’s a breakdown of the typical steps:
Preparation:
- Manufacturer Specs: The technician will first consult the manufacturer’s instructions specific to your car model. This outlines the calibration requirements and procedures unique to your vehicle’s ADAS system.
- Workspace Setup: A specific environment is needed for accurate calibration. This usually involves:
- Large Indoor Space: A clutter-free and draft-free indoor space with ample room around the vehicle is ideal.
- Lighting Control: Consistent, moderate lighting is crucial. Bright sunlight or excessive shadows can disrupt calibration.
- Calibration Frame: Thus, a unique frame with targets or patterns will be positioned in front of the vehicle at a precise distance and height as specified by the manufacturer.
Vehicle Setup:
- Furthermore, the technician will ensure the vehicle is in proper condition for calibration. This may involve checks on the following:
- Tire Pressure: All tires are inflated to the manufacturer’s recommended pressure.
- Steering Wheel Alignment: The steering wheel needs to be centered perfectly.
- Battery Voltage: Battery voltage must meet the required level for calibration.
Calibration Process:
- Moreover, the exact steps will vary depending on the ADAS system and manufacturer but generally involve:
- Target Guidance: The technician uses the targets or patterns on the calibration frame to guide the cameras and sensors during the process.
- Diagnostic Software: A computer program is used to initiate and guide the calibration procedure on the vehicle.
- Sensor Adjustments: The software will instruct the technician on adjustments to the cameras and sensors to ensure they are correctly aimed.
Verification and Completion:
- Once adjustments are made, the technician will use the diagnostic software to verify successful calibration.
- Thus, the software will typically provide a confirmation message or visual indication that proper alignment has been achieved.
Types of Calibration:
- There are two main types of ADAS calibration:
- Static Calibration: This is the most common type, performed entirely in a controlled environment using the calibration frame.
- Dynamic Calibration: In some cases, this may involve driving the vehicle on a predetermined route to allow the system to learn and adapt to real-world conditions.
Important Considerations:
- ADAS calibration is a specialized task and should only be performed by a trained technician with the proper equipment and knowledge.
- Recalibration is often recommended after windshield replacement or collision repair, as these events can affect the position of cameras and sensors.
- If any ADAS components like cameras, sensors, or radar units are replaced, recalibration is necessary to ensure they function correctly within the system.
Moreover, by following these steps and using the proper tools, technicians can ensure your ADAS system is precisely calibrated. Thus keeping you and others on the road safe.
You won’t necessarily need to determine the specific type of ADAS recalibration yourself. Here’s why:
- Technician Expertise: When you take your car to a qualified technician for ADAS recalibration Broken Arrow, they will handle this assessment for you. They’re familiar with the various ADAS systems and manufacturers’ recommendations.
- Diagnostic Tools: Thus, the technician will likely use diagnostic software specific to your vehicle model. Thus, this software will determine the necessary calibration type based on the information it retrieves from your car’s ADAS system.
However, there are some general pointers to consider:
- Windshield Replacement or Repair: If you recently had your windshield replaced, static calibration is most likely required. This realigns the cameras and sensors housed within the windshield itself.
- Collision Repair or Component Replacement: Following a collision or replacement of an ADAS component (camera, sensor, radar unit), both static and dynamic calibration might be necessary. Static calibration ensures proper alignment, while dynamic calibration allows the system to adapt to real-world situations.
- Manufacturer Recommendations: Consulting your car’s owner’s manual might provide some guidance on the type of calibration needed in certain situations.
Here’s what you can do:
- Consult Your Mechanic: Before scheduling an ADAS recalibration Broken Arrow, discuss it with your mechanic or a repair shop specializing in ADAS systems. Explain any recent repairs or windshield replacements to help them determine the appropriate calibration type.
- Manufacturer Information: Refer to your car’s owner’s manual for any specific recommendations regarding ADAS calibration after certain events.
Furthermore, letting a qualified technician assess your car and use their diagnostic tools is the most reliable way to determine the exact type of ADAS recalibration required for optimal performance and safety.


